Database Page
The Database page shows the status of the database and gives the functionality to clear the database, if required.
Any user can view the Database menu, but to clear (delete database contents) the database you must first confirm your password. Enterprise Edition users must have the required user permissions1, to clear the database contents.
To access the Database page, go to Administration > Database.
The database information is split into four tabs:
Database Statistics
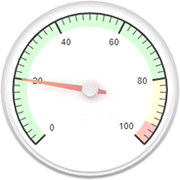
The dials on Database Statistics page give information about:

- Reviewer data space available
- Disk space available
- Amount of RAM available

- Green: Disk space or RAM is OK
- Yellow: Disk space (Amber Database space is low message will show) or RAM usage high.
- Red: Disk space is full (Red Database space is full message will show) or all RAM is in use.
Note: The database can also be cleared from the Database Statistics tab. It is recommended to do a backup of the database contents before any database management is done.

The Database Detail page shows the database size for each month in a specific year of data. Click on a Year to view the database size for each month available in the selected year.

Note: The database can also be cleared from the Database Statistics tab. It is recommended to do a backup of the database contents before any database management is done.
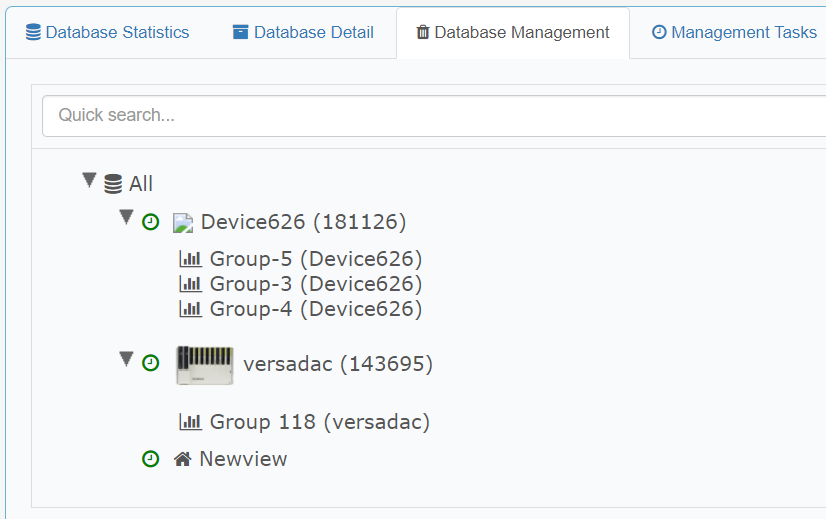
The Database Management page allows you to clean-up the Elasticsearch database manually, or automatically. This will free space on the hard disk by removing unwanted data. This will not delete the source UHH files.
Data can be removed for a selected period, a group view for a selected period, an instrument for a selected period, a group for a selected period, all batches for a selected period (end of batch date/time is used), and a batch.
Note: Removed data can be recovered by re-importing the files from the archive folder. See Restore All System Data.

To remove data manually, select an item (listed above) and then enter the details as described below:
Remove data older than: Specify a time period and click the Start now button to start the clean-up task immediately.
Preserve overlapping batches (Only available when you remove data from a group): Check the Preserve overlapping batches box to prevent partial removal of any overlapping batches.
Note: If the Group is set for a continuous batch, then no data will be removed when this option is enabled.
To remove data automatically, select an item and then enter the details as described below:
Automatic: Check the Automatic box to set the automatic removal of data from the database at specific time intervals.
Run task every: Specify a time period to run a clean-up task repeatedly at specified intervals. This will set up a queue to run a clean-up task sequentially.
First start: Specify a date and time to trigger the first clean-up task.
Next scheduled: Displays the upcoming time intervals for clean-up tasks.
Save: Click the Save button to save the settings. You will be asked to enter the default password.
Pause: Click the Pause button to stop a clean-up task. You will be asked to enter the default password.
Note: When you pause a clean-up task, it will remain in that state until you resume it by clicking the Start button (see below).
Start: Click the Start button to restart a paused clean-up task. You will be asked to enter the default password.
Note: When you start a task (previously paused), the data removal process resumes immediately irrespective of the time scheduled. However, the Next Scheduled clean-up task will happen at the time interval previously set.
Delete: Click the Delete button to delete the clean-up task. You will be asked to enter the default password.
Logs: Click the Logs button to view the history details of clean-up tasks.
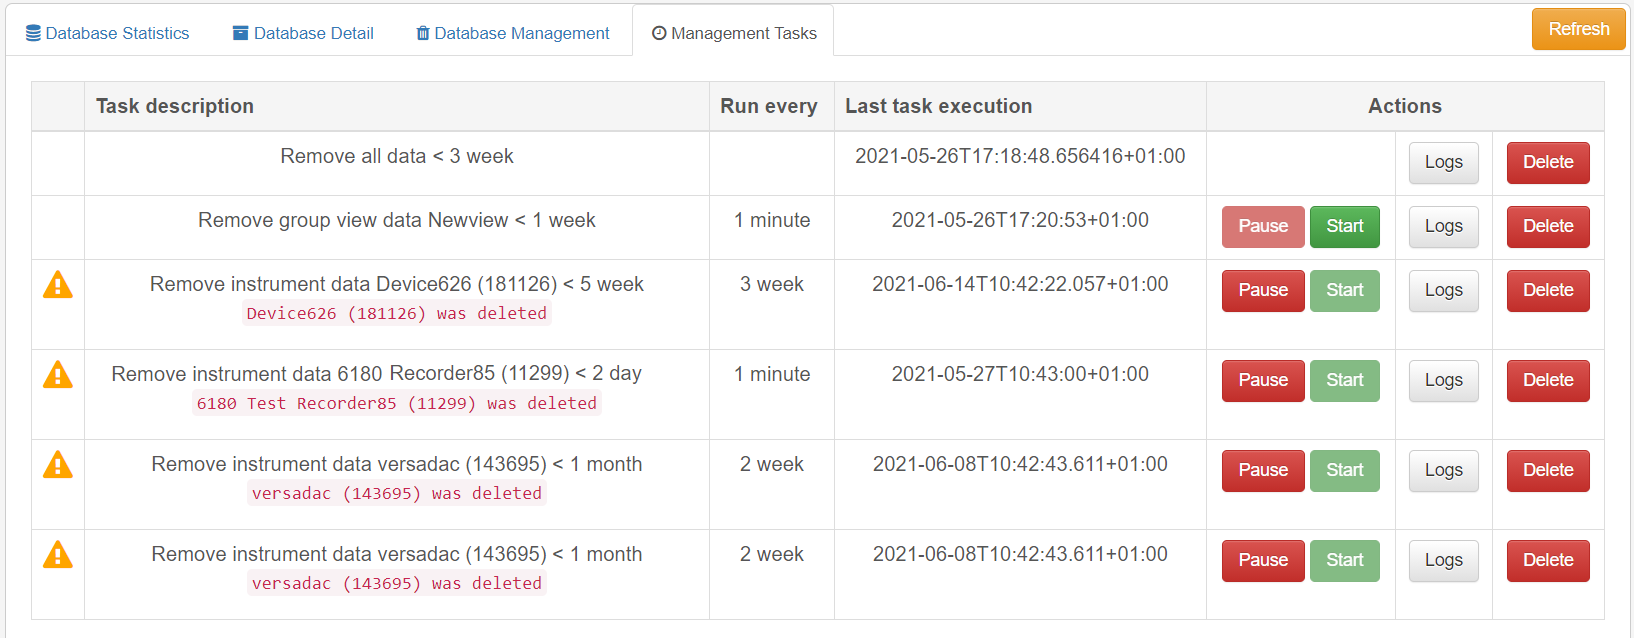
The Management Tasks page allows you to manage all the clean-up tasks that are set in the Database Management page.
To manage tasks, click the buttons available under the Actions column to perform various actions as described below:
Pause: Click the Pause button to stop a clean-up task. You will be asked to enter the default password.
Note: When you pause a clean-up task, it will remain in that state until you resume it by clicking the Start button (see below).
Start: Click the Start button to restart a paused clean-up task. You will be asked to enter the default password.
Note: When you start a task (previously paused), the data removal process resumes immediately irrespective of the time scheduled. However, the Next Scheduled clean-up task will happen at the time interval previously set.
Delete: Click the Delete button to delete the clean-up task. You will be asked to enter the default password.
Logs: Click the Logs button to view the history of clean-up tasks.
Note: Tasks run independently of each other. For example, if there are two tasks: (1) delete data from an instrument older than a week and (2) delete data from a group within the same instrument older than a month, then task (2) will still run but no data will be removed as it has already been deleted during task (1).

When the database disk space is low or full, a banner message will show at the top of the screen. The banner message will continue to show until the disk space has been made available:
Note: The Foundation Edition only has a database limit of 20 GB. Foundation Edition users should regularly check the status of the database to avoid a lockout and possible loss of data.

When the amber Database space is low banner message shows, the disk space is less than 20% and you must do database maintenance (clear the database).
Do not ignore the amber Database space is low message. If the disk space becomes full the Data Reviewer will stop and data could be lost.


When the red Database is full banner message shows, the disk space is full and all Data Reviewer functions are locked until the database size has been reduced.
To unlock the functionality, create disk space (for instance, move the contents of the archive folder) as soon as possible, and avoid possible data loss.
