How do I connect EPM Data Management Device to Data Reviewer?
To connect an EPM Data Management device to Data Reviewer using file transfer protocol (FTP) or secure file transfer protocol (SFTP):
-
From the EPM User Interface screen, select Options
 - Settings and Users - Settings: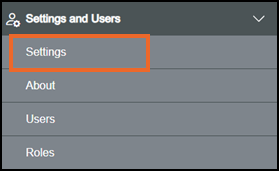
-
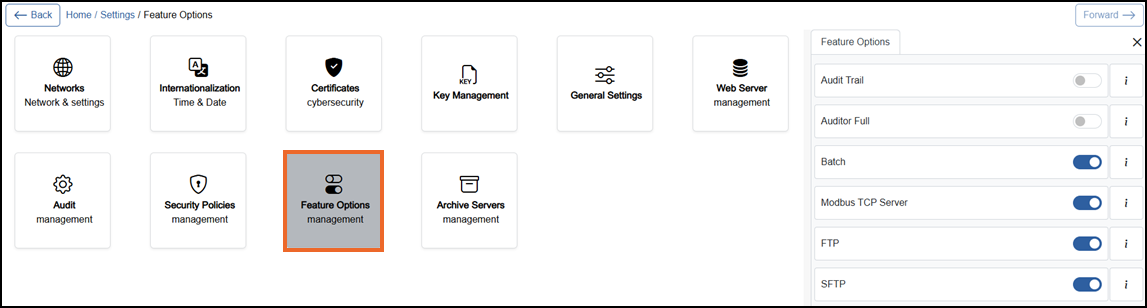
The Settings screen displays, select Feature Options which then displays on the right-hand side of the screen:
-
If you are not already in Configuration lock, the Configuration lock screen displays
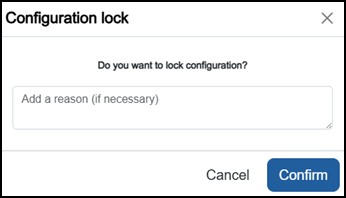
Enter a reason if required and then select Confirm
 . The system configuration is now locked pending the submission of your update and the Configuration Locked
  icon displays on the status bar.Note - Configuration lock does not affect the operation of the EPM device.See Configuration Lock for details.
 -
From the right-hand side of the Feature Option screen, select SFTP or FTP as appropriate to On
 .
. -
Return to Options
and select Setting and Users - Roles: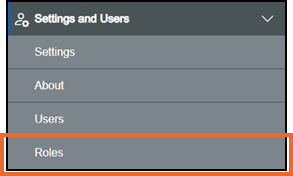
-
Select New role
 .
. -
The Add Role screen displays:
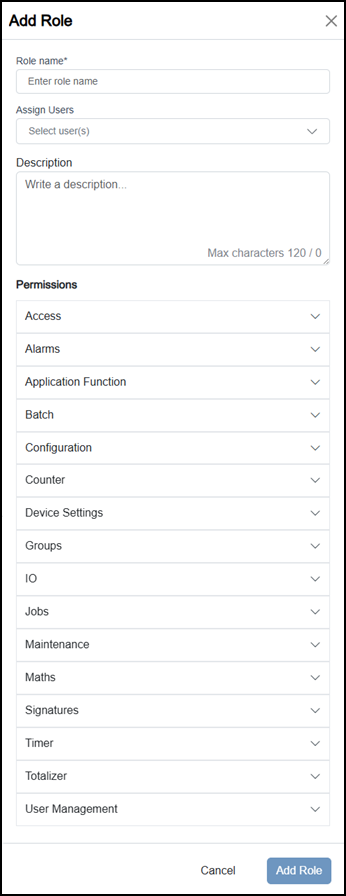
Complete as required:
Note - Fields marked with an asterisk * are mandatory.-
Role name - Enter a name for the new role, for example, 'Data Reviewer'.
-
Assign Users - Leave pending a dedicated user being created.
-
Description - Enter a brief description, for example, Data Reviewer role.
-
Permissions - Select Expand
 beside Maintenance to display the available options and tick Can access UHH files using FTP or SFTP: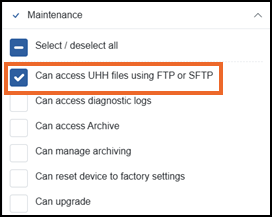
-
-
Return to Options
, and select Settings and Users select Users: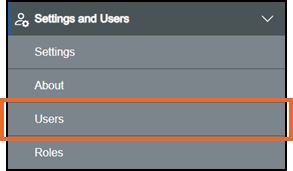
-
Your list of users displays, select Add new local user
 .
. -
If you are not already in Configuration lock, the Configuration lock screen displays
Enter a reason if required and then select Confirm
. The system configuration is now locked pending the submission of your update and the Configuration Locked icon displays on the status bar.Note - Configuration lock does not affect the operation of the EPM device.See Configuration Lock for details. -
The Add new user screen displays:
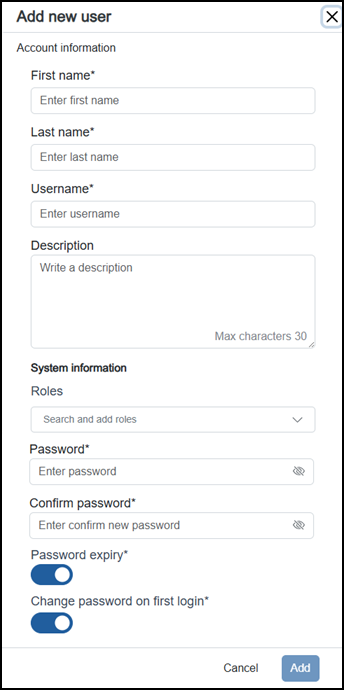
Complete as required:
Note - Fields marked with an asterisk * are mandatory.-
First name - Enter the user's first name, for example, 'Data'.
-
Last name - Enter the user's last name, for example, 'Reviewer'.
-
Username - Enter a unique identifier for this user, please be aware this cannot be updated once set.
Note - This is not case sensitive, for example, 'AbC' is regarded as identical to 'abc'. -
Description - Optional, enter any additional details required, maximum 30 characters.
-
System Information:
-
Roles - Select the Data Reviewer role you added from the Roles screen.
-
Password - Enter a password for the user. Passwords must meet the criteria specified in Settings - Security policies - Password Management and Password Complexity, if they do not meet the requirements the issue is highlighted below in red.
-
Confirm Password - Re-enter the password to confirm.
-
Password expiry - Switch to Off
 .
. -
Change password on first login - Switch to Off
.
-
-
-
Select Add
 .
. -
Once complete, select Review pending changes
 screen to review updates to the configuration, and submit them. See Reviewing and Submitting Changes for details if required.Note - Reviewing and submitting can be completed in bulk once you have completed all your additions and/or updates.
 -
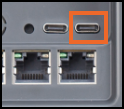
Insert the USB-C flash drive into the right-hand side USB-C socket of your EPM Device:
-
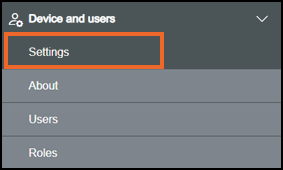
Start from step 20 if using FTP. For SFTP, from Device and users select Settings:
-
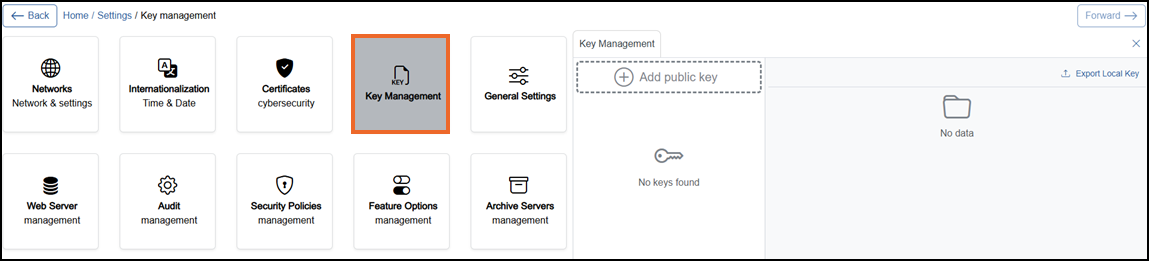
The Settings screen displays, select Key Management which then displays on the right-hand side of the screen:
-
Select Export Local Key
 .
. -
If you are not already in Configuration lock, the Configuration lock screen displays
Enter a reason if required and then select Confirm
. The system configuration is now locked pending the submission of your update and the Configuration Locked icon displays on the status bar.Note - Configuration lock does not affect the operation of the EPM device.See Configuration Lock for details. -
Key exported successfully
 displays at the top right-hand side of the screen: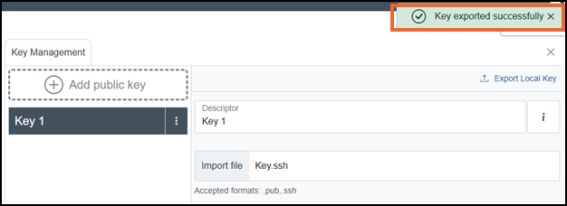
-
Insert the USB-C flash drive back into your local device where Data Reviewer is installed with the exported key (key required only for SFTP).
-
Log into Data Reviewer and select Data Sources:

-
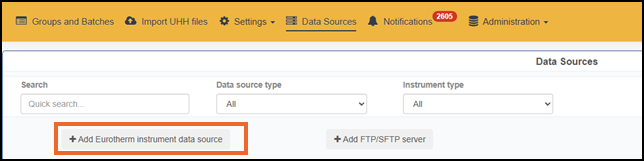
Select Add Eurotherm instrument data source:
-
Complete as required:
-
Instrument type - Select SFTP or FTP from the list.
-
IP address or Domain - Add your EPM device IP address.
-
TCP port - Automatically set to 22 when using SFTP and 21 when using FTP.
-
History folder - Select and delete the folder.
-
Upload SSH public key - Select and locate the _local.pub file.
-
Login - Add the username you have just set up in EPM with Can access UHH files using FTP or SFTP.
-
Password - Add the password you have just allocated to the new user in EPM with Can access UHH files using FTP or SFTP.
-
-
Select Connect
 .
. -
Select Save
 :
:
Your EPM Data Management device now displays:
Last update - August 2026