Configuring Manual Archive
The Archive screen allows you to manually perform an archive on your EPM Data Management. Before you start your archive you should configure your archive server. See Configuring Archive Servers for details.
To configure a manual archive:
-
From the EPM User Interface screen, select Options
 - Maintenance - Archive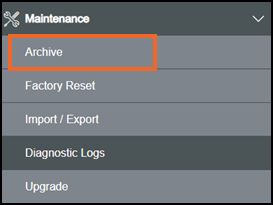
-
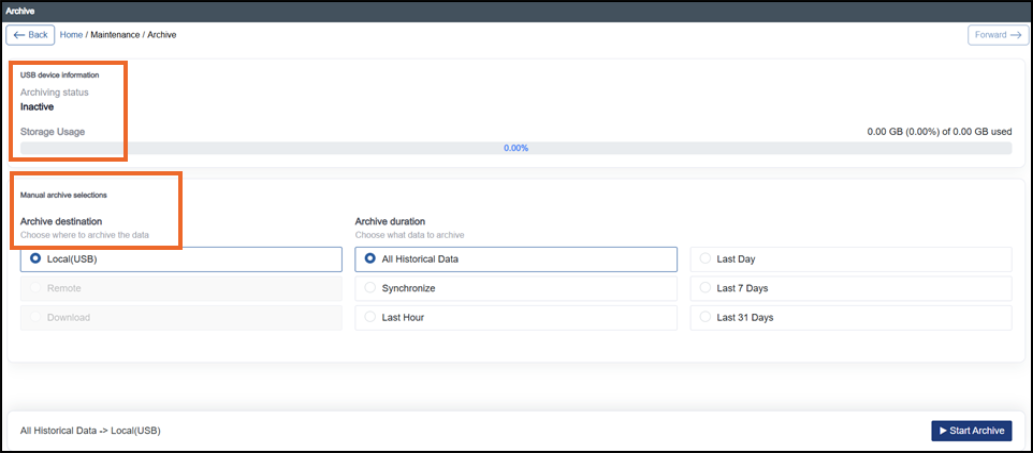
The Archive screen displays:
-
If you are not already in Configuration lock, the Configuration lock screen displays
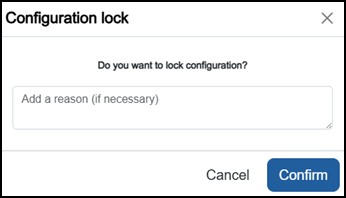
Enter a reason if required and then select Confirm
 . The system configuration is now locked pending the submission of your update and the Configuration Locked
  icon displays on the status bar.Note - Configuration lock does not affect the operation of the EPM device.See Configuration Lock for details.
 -
Complete as required:
-
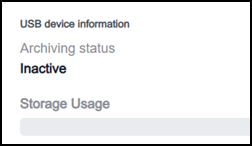
USB device information:
-
Archiving Status - Displays the current state of a manual archive:
-
Inactive - When Archive destination and Archive duration are not selected
-
Archiving - When you select Start Archive
-
Complete - When archiving is completed
-
Incomplete - When archiving is incomplete
-
-
Storage Usage - Displays the percentage of storage space currently used for recorded data not yet archived.
-
-
-
Manual archive selections:

-
Archive destination - Choose your archive destinations as required:
-
Local(USB) - Sends the archive to your local USB drive. Insert the USB C into the right-hand side USB C socket:
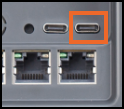 Tip - You can check the USB device status from the top right corner of your screen
 .
. -
Remote - Sends the selected archive data from the EPM to a configured network or server location, rather than saving it to the connected USB device. To use remote archiving:
-
Enable FTP or SFTP fromConfiguring Feature Options.
-
Configure the remote server fromConfiguring Archive Servers.
-
Select Remote, choose the archive duration, and select Start Archive.
Note - Confirm the remote endpoint is configured and reachable before proceeding -
-
Download - Currently disabled. Prepares the archive and transfers it to the connected web browser’s default download folder. It is not saved to USB or a remote server.
-
-
Archive duration - Choose your Archive duration as required:
- All Historical Data - Instructs the range of past records that should be included when you request a historical load.
-
Synchronize - Currently disabled. Focuses on keeping systems consistent rather than only loading past history.
-
Last Hour - Set to one hour before the moment you start the archive.
-
Last Day - Set to 24 hours before the start of the archive.
-
Last 7 Days - Set to 7 Days before the start of the archive.
-
Last 31 Days - Set to 31 Days before the start of the archive.
-
-
Select Start Archive
 to start the process. You can check the Archiving status to confirm if the process has actually started or see the status from the top right corner of your screen: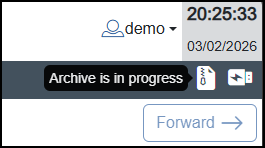
-
Select Cancel
 if you want to cancel your archiving process.
 -
The Confirm cancellation screen displays:
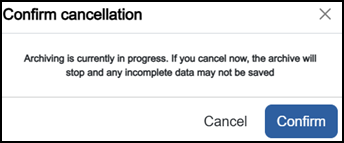
Select either:
-
Confirm - To stop the archiving process, or
-
Cancel - To exit.
-
-
Once complete, select Review pending changes
 screen to review updates to the configuration, and submit them. See Reviewing and Submitting Changes for details if required.Note - Reviewing and submitting can be completed in bulk once you have completed all your additions and/or updates.
Last update - July 2026