Adding a Group
You can add Groups and associate two or more channels with each Group to record, visualize, print and annotate data. Each Group displays as a card.
To add a Group:
-
From the EPM User Interface screen, select Options
 - Groups: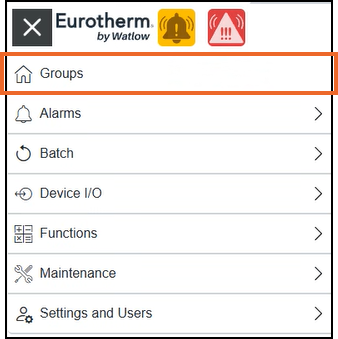
-
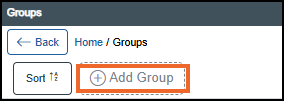
The Groups screen displays, select Add Group:
-
If you are not already in Configuration lock, the Configuration lock screen displays
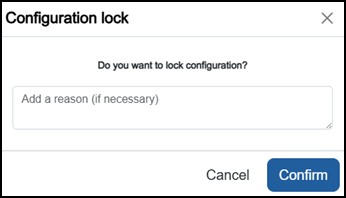
Enter a reason if required and then select Confirm
 . The system configuration is now locked pending the submission of your update and the Configuration Locked
  icon displays on the status bar.Note - Configuration lock does not affect the operation of the EPM device.See Configuration Lock for details.
 -
From the Add group screen, enter a meaningful name for the new group in the Group Descriptor (maximum of 20 characters), for example, “Boiler Room Sensors” or “Production Line 1” and then select Add:
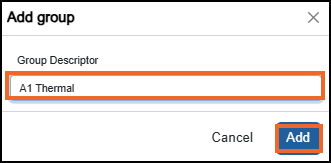 Note - This is not case sensitive, for example, 'AbC' is regarded as identical to 'abc '. Group names are not permitted to have leading or trailing spaces.
The Group Settings screen displays in the right-hand side, see Configuring Groups Settings for details.
Tip - After creating a Group, remember to add channels, see Adding a Channel to a Group for details. -
Once complete, select Review pending changes
 screen to review updates to the configuration, and submit them. See Reviewing and Submitting Changes for details if required.Note - Reviewing and submitting can be completed in bulk once you have completed all your additions and/or updates.
Last update - July 2026